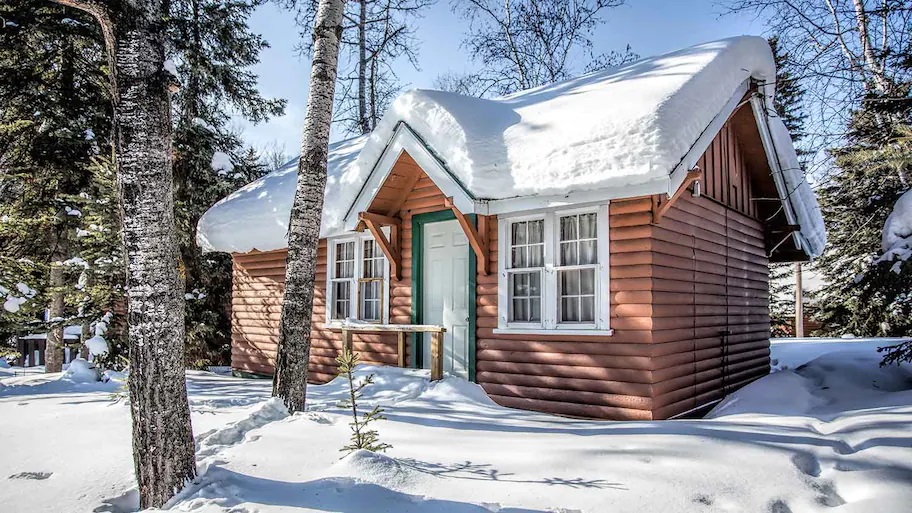
Having a nice little vacation cabin in the woods is fun, as is an extra home anywhere in the world. However, if you’re not going to be personally living in a home, it’s going to be very difficult trying to figure out what you’re going to do with it in the winter.
If your home is in a space where it snows a lot. You need to make sure that it’s ready for winter. This means that even if you’re not going to be there. This usually means that you need to prepare it for the winter, aka winterize your home.
In this post, we’re going to be going over some of the easiest ways you can use to winterize the plumbing of your vacant house!
How Do You Winterize Plumbing in a Vacant House?
The word “winterize” may sound a little excessive and confusing to accomplish, this is a pretty simple task. Granted you know to deal with pipes and the winter.
Turn off the main water supply
The absolute first thing you need to do is find the main valve or your home. This means that instead of your closed tap trapping all of the water in the pipes to get frozen, you’ll just close the water supply so no water ever makes it into the pipes in the first place! Keep your pipes safe from the get-go!
Make sure there’s no water left in the pipes
While turning the water supply off does half the work, if that’s the only measure you take, all of the water that made it from the valve to the taps, would end up staying there and that water would freeze up and harm the pipes of your home. This is also something that needs to be dealt with. There’s a super easy fix for this. Just open up all of the taps and make sure all of the water runs out of the pipes.
If there are any clogs, call drain cleaning New York, or any drain cleaning services in your area to come and clean it out for you!
Leave no aerators behind
Next up, you have the aerators. These are those little mesh things that make your regular water stream into a soft and steady flow. While these devices do that, they end up trapping a little bit of water behind them. That’s why it’s important to just take some pliers and take it out. This way, the sinks, and taps won’t get stuck through the winter!!
Blow out any remains
The whole point so far has been that there’s no water in the pipes. We’re talking absolutely dry, meaning we can’t even leave a few drops inside. As a final “removal step” take an air compressor and attach it to your meter. Then the air compressor is to be turned on and left there until there’s the pressure felt on the meter side. This will mean that all water has been pushed out and air has replaced the water in the pipes. The air will somewhat act like invisible pipe liners! At this point, there is nothing but air in these pipes and we’re about to change that.
Dump the antifreeze in
At this point comes essentially the step that keeps your water pipes super secure throughout the wintertime. The anti-freeze.
Antifreeze goes in all of the main pipes of your home. So this is supposed to be poured into all of the drains. Remember to not put this in any of the toilets, just drains!
Be liberal with this because you usually need to pour about half a gallon into each drain.
All done!
Your house has officially been winterized. Now just make sure that no one opens any taps and you’re good to go for the entire winter season!